The best way to install at Amazon Linux
Environment
- Amazon Linux 64bit
- Amazon RDS-MariaDB 10.0
- Java8
- Edge, Chrome
Use sudo account
- OS, DB and Java is not in ProPTT2 package, To know the detail information of installation, please contact to the product's homepage.
1. Install Linux
Check your server machine specification. refer recommended specification.
Notice. On 4G RAM Linux, all server can not be started.
Launch Linux EC2 instance with Amazon Linux.
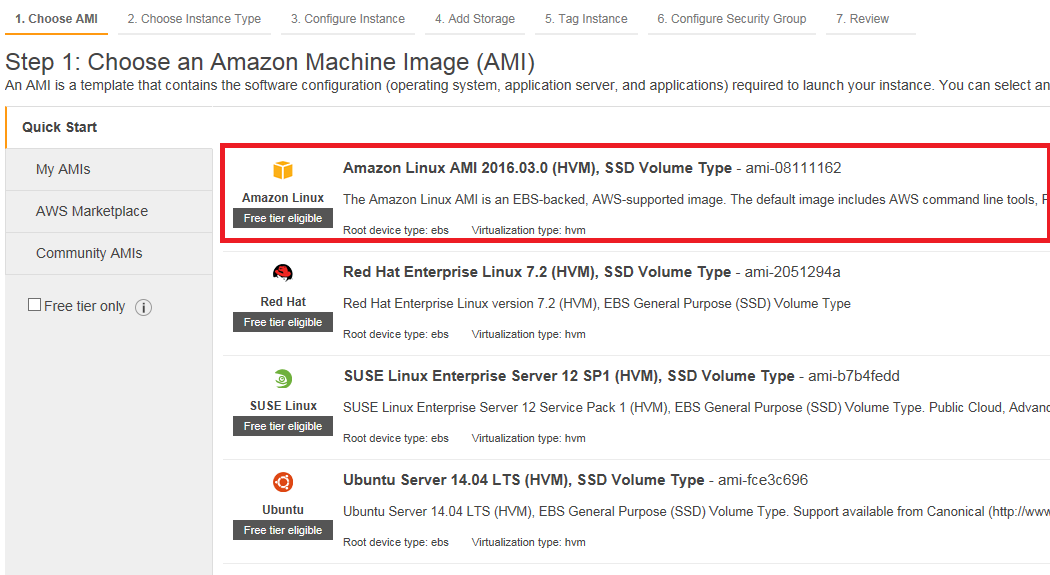 And setup system time as GMT0 and sync by ntp.(see Timezone setup in Common)
2. Setup hostname
2.1 Setup hostname.
2.2 Modify hosts file
(see Java installation in Common) Add your local IP and hostname in hosts file.
3. Install Java
Amazon Linux already has Java7.(1.7.xxx)
4. Setup firewall
There is no host firewall. Just use Amazon security group.
You also have to open ports in Inbound policy of Amazon security group.
TCP in : 80, 443, 8080, 8088, 40080, 40443, 41022, 41322, 41323, 41324, 41342, 41343
UDP in : 41323, 41324
5. Decompress ProPTT2's tar
6. Setup database
6.1 check db.properties
verify username and password for DB
6.2 The timezone must be GMT0.
6.3 run check_db
7. Run ProPTT2
8. Setup Lecense
8.1 open server's URL by web brawser. (https://yourserverip:40443/)
40443(HTTPS)/40080)
~Server package 3.0.x: 8080(HTTPS)/8088(HTTP)
8.2 login admin/1234
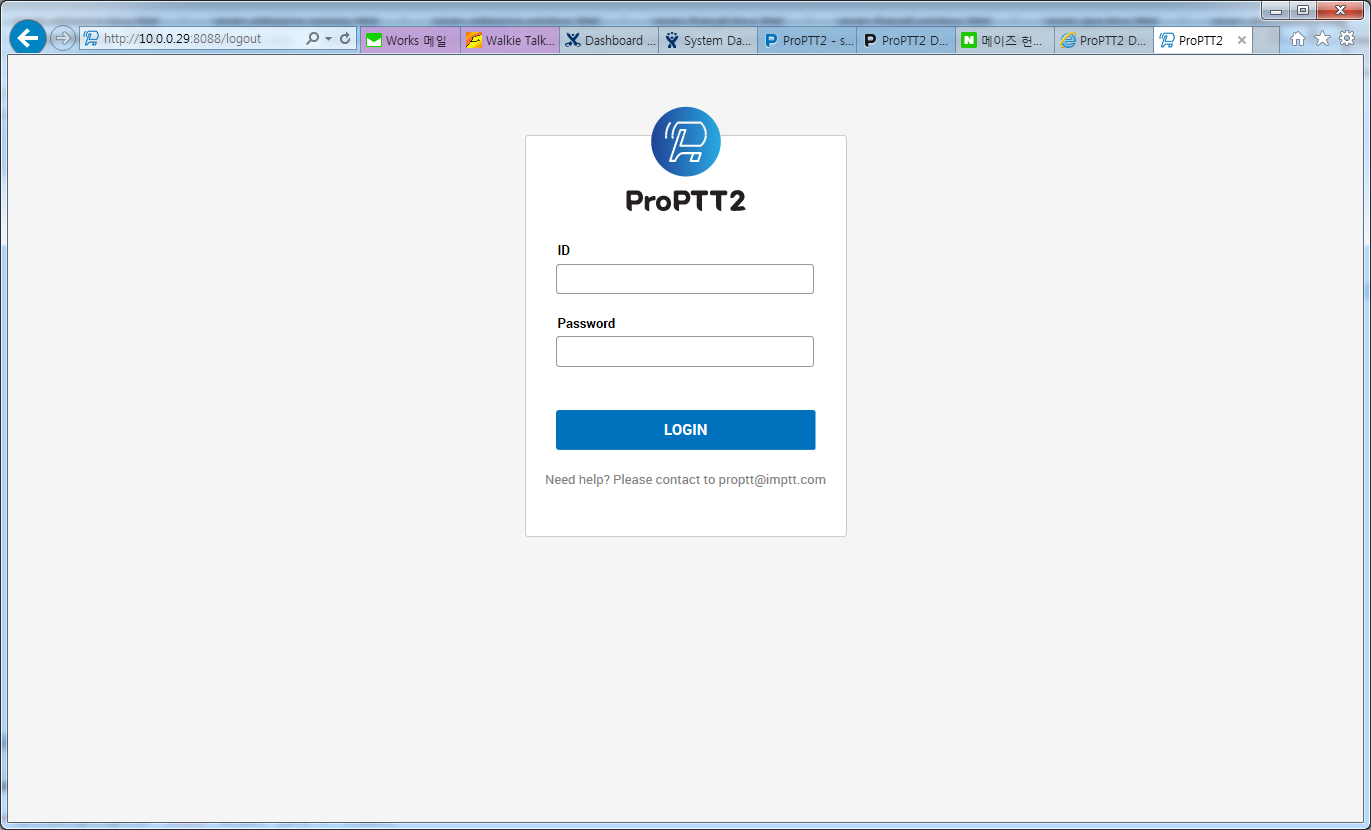 8.3 click servers on top-menu.
8.4 click a host on servers-menu.
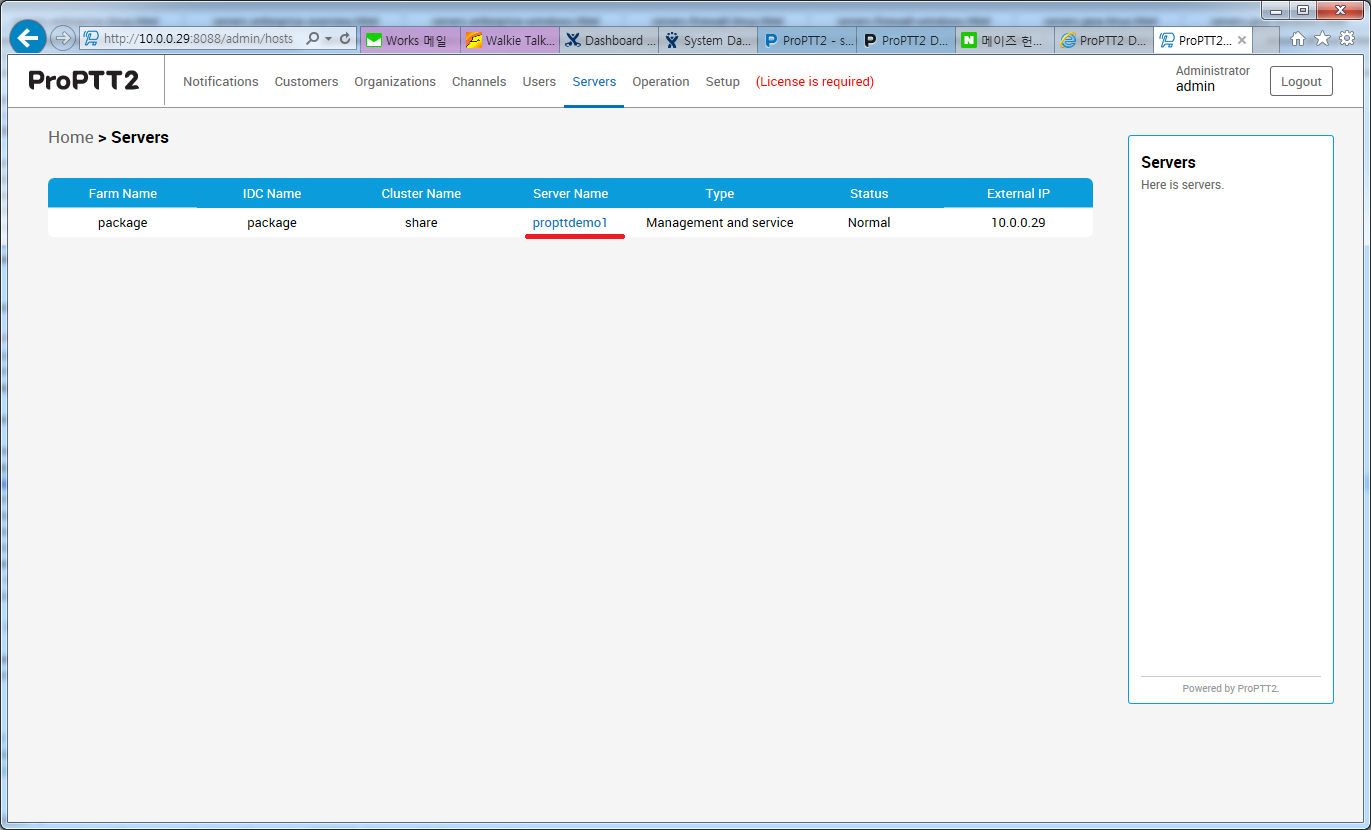 8.5 check a hostname and IP on host-menu. If there is wrong, you need to modify it.
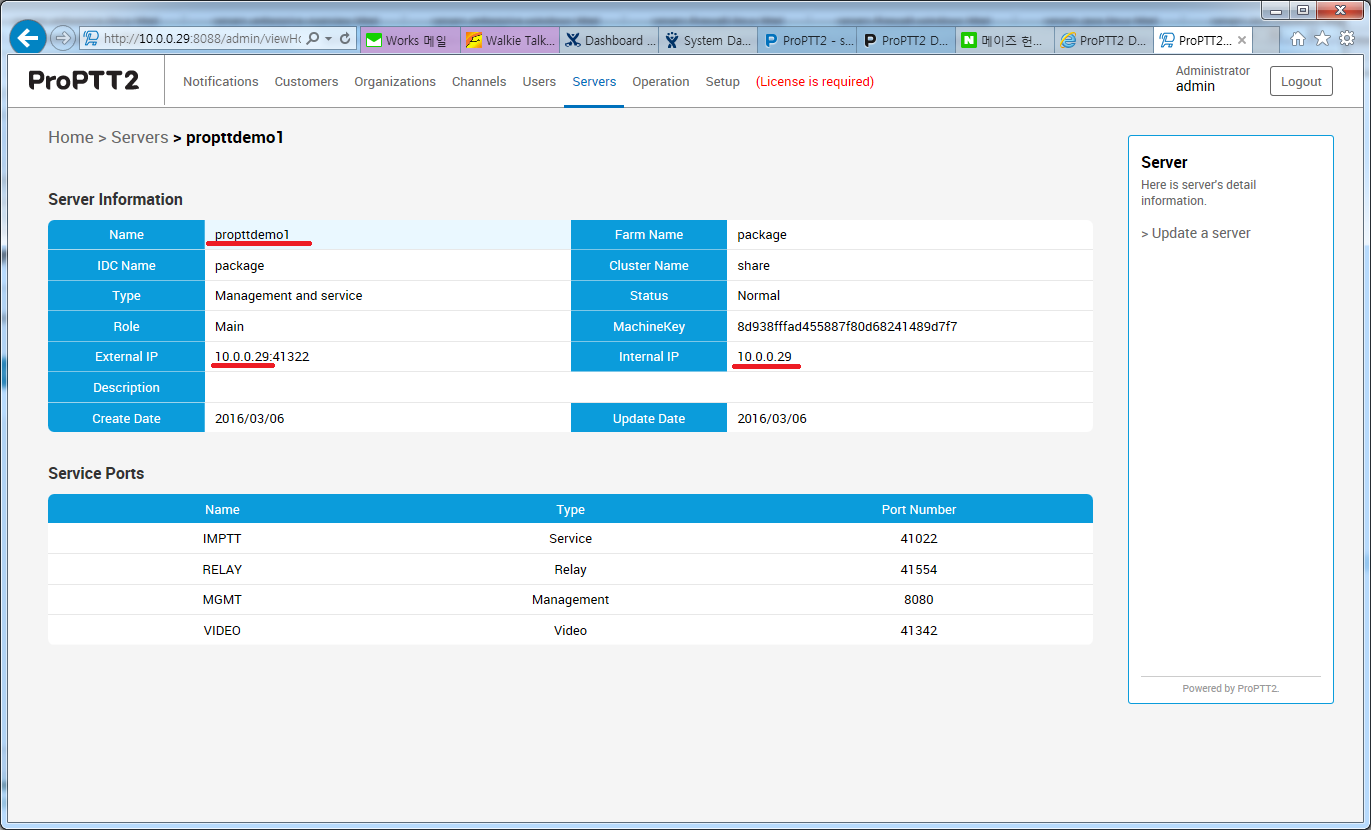 8.6 click setup on top-menu.
8.7 check hostname and IP of connected server. copy a machine key.
If hostname and IP of connected server are different with server info, you must check hostname setup. It is a main reason of client login failure.
 8.8 generate a license key at www.proptt2.com/account.
8.9 iuput the license key on setup page.
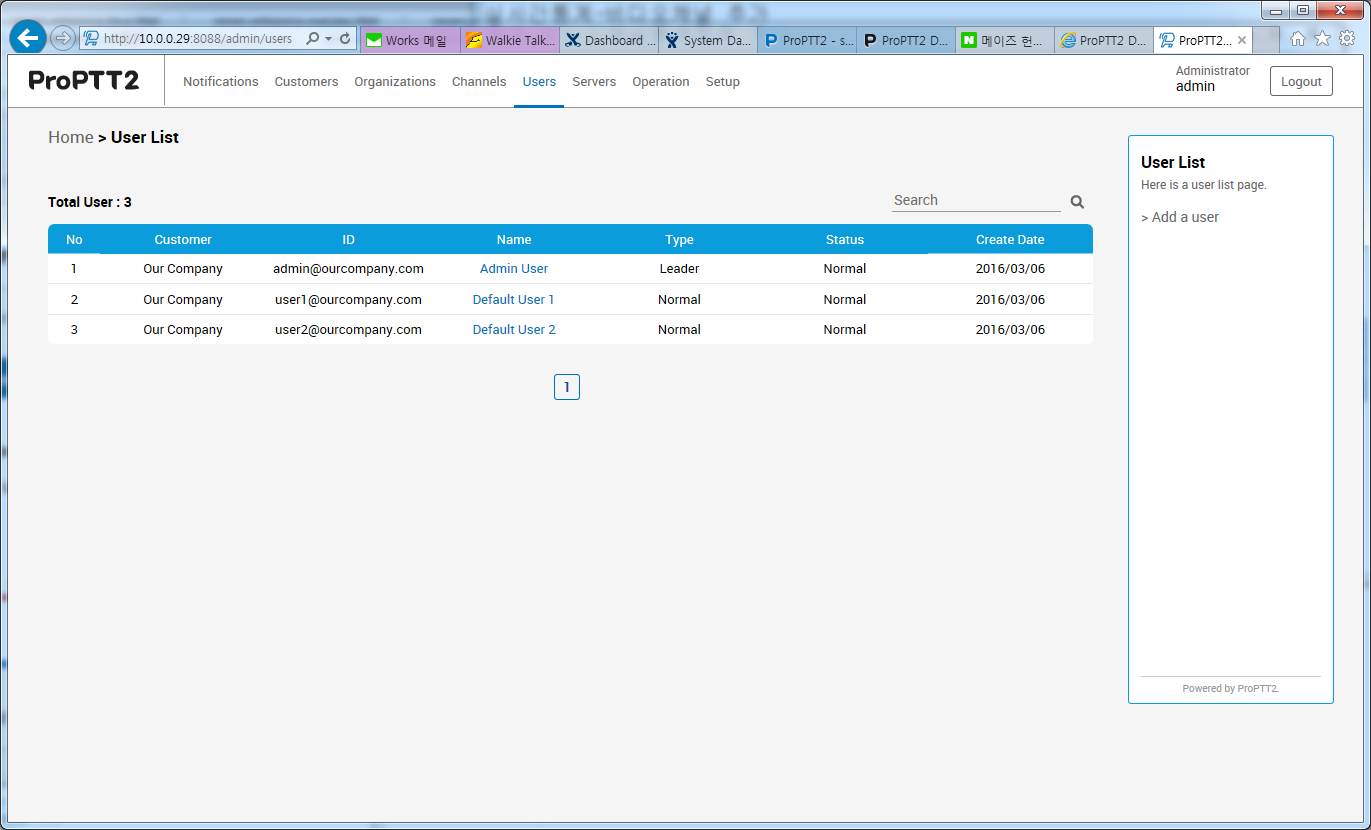
 8.10 check default users on users page.
9. Restart ProPTT2
You have to check servers are running.
10. Test ProPTT2
10.1 Use ProPTT2 clients(Android/iPhone).
10.2 Setup your server's IP on setup at log-in screen and test.
10.3 Login with user1@ourcompany.com/1234 in log-in screen.
11. Trouble shooting
Please refer to FAQ page. (Server's FAQ)
12. Customer configuration
Please refer to 'The first step after installation'.

